Make a hat-shaped name display
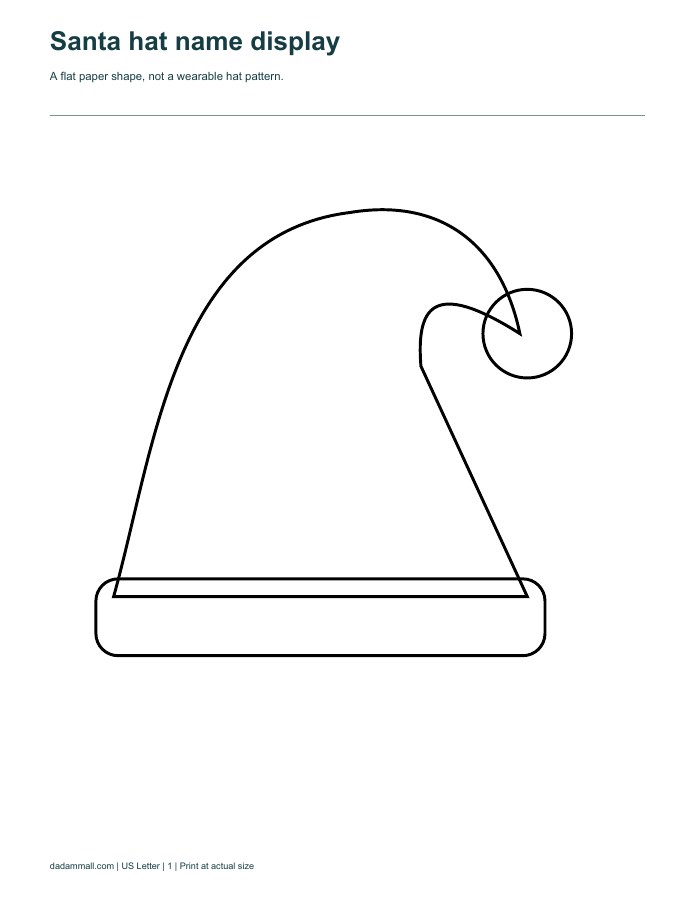
A Santa hat template can give each member of a class or family a small place in a shared seasonal display. The large outline includes a curved crown, a wide brim and a round pompom. Keep the brim clear for a name or short greeting, then decorate the crown. This is a flat paper craft shape rather than a pattern for a wearable hat.
Match the size to the activity
The first page has one large hat for an individual drawing or name sign. The second page has four smaller hats for matching, sorting or marking places in a display. Print only the page you need. A group can combine the sizes by making one large heading sign and several small participant hats, keeping each person's contribution visible without covering the entire board.
Let the artwork support the name
Write the name before adding patterns so you can judge how much space remains. A long name may fit better on two lines or on a separate label below the hat. Use a dark pen for lettering and lighter colours around it. If children are cutting out their work, leave the outside outline clear and offer adult help where needed around the pompom and curved tip.
Arrange the finished pieces before attaching them
The PDF uses US Letter paper and black outlines. Print at actual size, cut after colouring and lay the pieces out on a table before making the final display. The related bulletin board pack supplies alphabet styles, small letters and a display planner for headings and names. It does not contain a sewing pattern or a costume accessory; choose it when you need reusable lettering for this display and future classroom projects.